User's of your web application will access a variety of different resources over time. Often, access to these resources will need to be limited according to some predefined criteria. You can accomplish this in a .Net Core Razor Pages application by adding authorization to the web app. We will cover how to add authorization to your razor page's application using a demo application. This demo application provides a web-based interface to manage debtors and any associated invoices they may have. This post will be split into two separate posts. This first one will cover adding the roles to your application and requiring the administrator role to create a new debtor. The second post will include restricting the ability to modify an existing debtor to only the debtor's creator.
Before adding authorization to your application, your .Net Core app needs to have an identity, and an authentication system implemented. This article will not cover how to add authentication to your application. The demo application in this example uses .Net Core's native authentication, along with Google authentication as a secondary identity provider. The Github for this project can be found here.
Defining the Authorization Requirements
To add authorization to your application, you will first need to understand what you are trying to accomplish. In other words, what are your goals?
In this case, our demo debtor application has the following requirements.
- Users can only create new debtors with an administrator role.
- Users can only make changes to an existing debtor if they are the creator of the debtor entity.
Requirement 1: Creating a New Debtor Requires the Administrator Role
Adding role-based authorization to your application is pretty straight-forward. .Net authorization can be enabled in your web application's configuration on start-up using some default settings. The debtor application uses the default identity set-up for local authentication by calling the IServiceCollection's AddDefaultIdentity<> method chain using .Net's standard configuration. We will add the role support to the method chain in our Startup.cs's ConfigureServices method:
services.AddDefaultIdentity<IdentityUser>()
.AddDefaultUI(UIFramework.Bootstrap4)
.AddRoles<IdentityRole>()
.AddEntityFrameworkStores<ApplicationDbContext>();
After enabling roles in the default identity configuration, we will need to seed the database with whatever roles your application will utilize. This will be a multiple-step process as we will be separating some of the configurations between two different classes. We will first create a new class where we can define our application roles. In this case, the debtor application will use the following two roles:
- Administrator
- User
I chose to implement a new enum class called ApplicationRoles.
Here is what the class files look like:
public enum ApplicationRoles
    {
        Administrator,
        User
    }
We will use this class to seed our database with these predefined roles.
Next, to manage our seeding, we will create a new class called DefaultAdminConfiguration. This class will seed the database with these two roles and also create a default admin account. The credentials for the default admin account will be loaded from our configuration file under the section of "AdminUserSettings." We will call the Initialize function of our DefaultAdminConfiguration in our startup.cs's Configure method.
public static class DefaultAdminConfiguration
    {

        public static async Task Initialize(IServiceProvider serviceProvider, IConfiguration configuration) {

            var roleManager = serviceProvider.GetRequiredService<RoleManager<IdentityRole>>();
            var userManager = serviceProvider.GetRequiredService<UserManager<IdentityUser>>();

            IdentityResult identityResult;

            foreach(var role in Enum.GetNames(typeof(ApplicationRoles)))
            {
                if(!(await roleManager.RoleExistsAsync(role))){
                    identityResult = await roleManager.CreateAsync(new IdentityRole(role));
                }
            }

            IdentityUser adminUser = new IdentityUser {
                UserName = configuration.GetSection("AdminUserSettings")["Email"],
                Email = configuration.GetSection("AdminUserSettings")["Email"]
            };

            string password = configuration.GetSection("AdminUserSettings")["Password"];

            IdentityUser foundUser = await userManager.FindByEmailAsync(adminUser.Email);

            if(null == foundUser)
            {
                IdentityResult createdUser = await userManager.CreateAsync(adminUser, password);

                if (createdUser.Succeeded) {
                    await userManager.AddToRoleAsync(adminUser, ApplicationRoles.Administrator.ToString());
                }
            }

    }

    }
Now, we add DefaultAdminConfiguration to our applications Startup.cs and call its initialize method in the Configure method.
public void Configure(IApplicationBuilder app, IHostingEnvironment env, IServiceProvider services)
{
....
app.UseHttpsRedirection();
app.UseStaticFiles();
app.UseCookiePolicy();
app.UseAuthentication();
DefaultAdminConfiguration.Initialize(services, Configuration).Wait();
app.UseMvc();
}
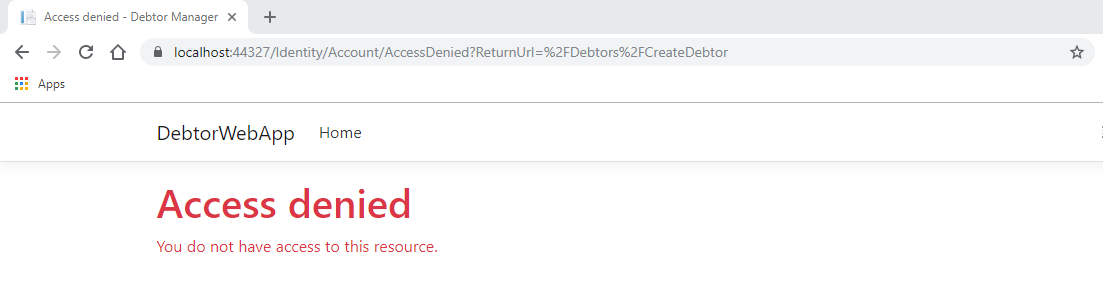
}To require that users of our application be a part of the administrator role to create a new debtor, we will need to add it to the designated pages. Open up the code behind of the CreateDebtor Razor Page located in our application's Pages/Debtors directory. We are going to add the Authorize attribute to our class with the role of "Administrator."
[Authorize(Roles = "Administrator")]
    public class NewDebtorModel : BasePageModel
    {
       ...
    }
Now, if we run the application and try to create a new Debtor without having the administrator role, you will receive an access denied.
Adding role-based authorization is pretty straight forward. In part 2, we will see how we can use .Net's IAuthorizationRequirement and AuthorizationHandler to restrict a user's ability to modify debtors in the application.